


DTF Gang Sheet Builder
Add a DTF Sample Pack to Cart - $0.01 - Add to Cart
Product Details
Features
Auto Build: Upload your artwork, pick sizes and quantities, and hit Apply — the builder lays everything out for you, tells you if you need another sheet, and checks that every file is placed correctly and print-ready before checkout.
Faster workflow: Design, arrange, and optimize a full sheet in one place instead of juggling files — less prep time, more printing.
Multiple sheet lengths: Build layouts that squeeze the most out of every inch across the full range of sheet sizes.
Mix and match freely: Combine as many designs as you like on one sheet without giving up print quality.
Print with confidence: Sharp detail and vivid color, sheet after sheet — what you build is what you get.
- Auto Build: Build your gang sheet in seconds with our Auto Build feature. Simply upload your images, choose the quantity and size, and hit 'Apply.' The builder will automatically arrange your images, notify you if more sheets are needed, and confirm everything is correctly placed and high resolution before checkout.
- Streamlined Workflow: Simplify your printing workflow with our DTF Gang Sheet Builder. Design, arrange, and optimize your gang sheets effortlessly for a smoother production experience.
- Multiple Sizes: Build custom layouts that optimize space and streamline your printing process across five different sizes.
- Design Flexibility: Experiment with various design combinations on a single sheet. Our Gang Sheet Builder empowers you to explore creativity while maintaining precise print quality.
- Print with Confidence: Ensure consistent and vibrant results with your customized gang sheets. From intricate details to vivid colors, your prints will captivate every time.
Satisfaction Guarantee
Every sticker and transfer we print is backed by our guarantee. If something isn't right, we'll reprint your order with a new or corrected file at no charge.
We stand behind the quality of every transfer and sticker we print. If you’re not completely satisfied, we’ll reprint your order with a new or revised file at no cost to you.
Pressing Instructions
Four quick steps to a clean press every time:
1. No pre-press needed. You don't have to pre-iron or dry the garment first — only pre-press if you prefer it. Tip: pressing a fabric you haven't worked with before? Run one small test press to dial in your settings.
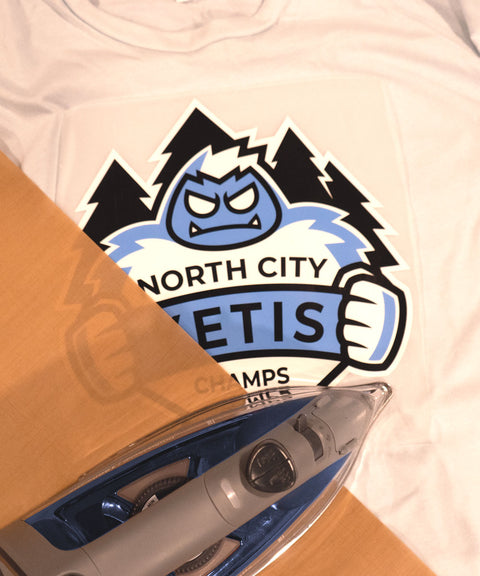
2. Position your design. Lay the transfer flat exactly where you want it. Pressing across seams (hat panels, side seams) works fine; heat-resistant tape helps hold placement on hats or when using a household iron.
3. Press & peel. Press at 310°F / 155°C with medium-to-high pressure for about 12 seconds — test one piece first. Use parchment paper or a silicone platen cover so the platen never touches the garment directly. Wait a few seconds, then peel. If part of the design hasn't released, lay the film back down and press again briefly.
4. Lock it in. Cover the pressed design and give it a short second press (5–10 seconds) to seal the finish and maximize wash durability.
If you're ordering any specialty transfers, click here to find the appropriate pressing instructions videos.
Click here to watch our DTF Transfer Pressing Instructions Tutorial Video.
To ensure your DTF transfer looks professionally pressed every time, follow these four simple steps.
1 - No Need To Pre-Press or Pre-Iron
Removing moisture and wrinkles from the product is unnecessary with our DTF transfers. Only do a prepress if you prefer.
Pro Tip: If you’re pressing onto a garment or surface you haven’t worked with before, we recommend doing a small test press first to confirm the settings and ensure the best results.
2 - Position Your Design
Position your transfer in the desired location and make sure it is flat before pressing. You can press across seams, for example on 6-panel hats and side seams of t-shirts. Heat-resistant tape is recommended when pressing on hats or when using a household iron to prevent the transfer from moving. You'll learn when it's needed with experience.
3 - Press & Peel after a few seconds
Press the transfer at 310°F / 155°C with medium to high pressure for ~12 seconds. It is recommended to test one piece first. Use parchment paper or order a silicone upper platen cover (avoids scorching and replaces parchment paper) to protect your garment from touching the iron directly.
Wait a few seconds and peel! If parts of the design are not sticking, lay it back down and press again with added pressure and heat (+15°F). If unsuccessful, increase heat by 15°F increments until it transfers correctly. Remember, the great thing with our transfers is that repeated pressing won't damage the transfer.
If your settings are scorching the garment, the first step would be to reduce pressure. If that doesn’t work, retain the reduced pressure and reduce the heat by 10-15°F. With a little practice, you’ll find the right settings for each garment and material.
4 - Final Press & Wash Instructions
Important: While the majority of other DTF companies advise you to press it just once, this is improper. After hundreds of wash tests, we have found that a final press is imperative to create a superior product. After the design is transferred onto the garment, with the film peeled off, cover the design with provided parchment paper and press for 15 seconds. Doing so enhances the value of your product by greatly improving the durability and softness as well as reducing the shine.
For step-by-step pressing instructions for household irons or a Cricut EasyPress, click here.
Shipping & Returns
Transfer and supply orders over $75 ship free automatically, and express options as fast as 1 business day are available at checkout. Canadian orders qualify for free shipping at $99+.
See our Shipping Policy for full details.
Refunds & Reprints
Contact us within 45 days of delivery to request a reprint or refund. Print quality and adhesion problems always qualify for a free reprint; issues caused by a low-resolution upload don't. Refunds or reprints for any other reason need management approval first.
Orders over $75 of transfers and supplies will automatically qualify for Free Shipping. Express shipping options as fast as 1 Business Day available at checkout. For Canadian customers, orders of $99+ will qualify for Free Shipping.
Read our Shipping Policy for more information.
Refunds & Reprints
Contact us within 45 days of receiving your order to submit a request for a refund or reprint. We will reprint any order where there is a print quality or adherence issue. However, we will not issue a reprint if the uploaded file is low quality. If you'd like a refund or reprint for another reason, it must be approved by management first.
Art Upload Recommendations
All file types are accepted. Vector files are recommended for the best results, and raster artwork should be at least 300 DPI. For optimal color accuracy and vibrancy, we recommend designing in the Adobe RGB (1998) color profile.
Minimum Size: While DTF handles fine details well, elements smaller than 0.02 inches (0.5mm) may not transfer properly.
Tip: If you're using Canva or Procreate, exporting your document as a PDF is recommended.
Why our transfers print brighter
DTF Transfers
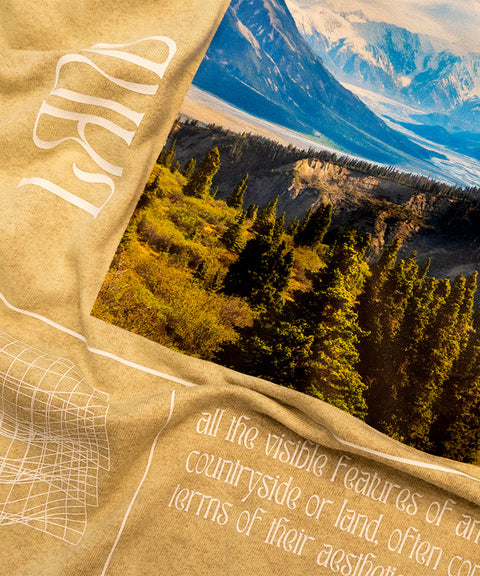
The industry's most versatile decoration method available.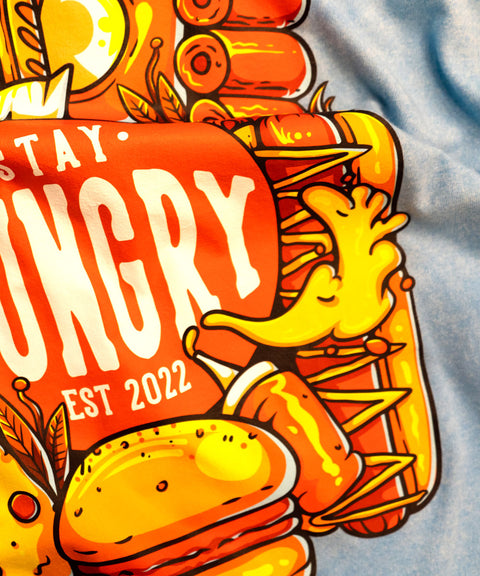
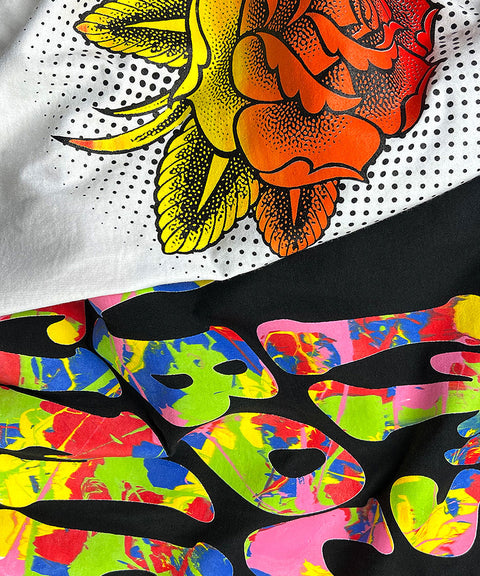

Unrivaled DTF Printing Facility
With our in-house fleet of 40+ DTF (Direct-to-Film) Printers, we deliver high-quality, full-color prints on a range of materials efficiently and reliably. Get professional-grade results for all your DTF printing needs - order now!
